1 – Download and installation of an add-in
The simplest way when using Microsoft Windows is to download the installer for the respective tool. The executable installation file (.exe) was created with InstallForge. This contains the add-in (.xlam), which is unpacked and placed in a folder during the installation. In this case, go on with perfoming the steps under 1a.
If using the installer is not possible, for example because the download of executable files is not allowed or the tool is to be installed on a Mac, the .xlam file can be directly downloaded and manually installed. In this case, the steps under 1b need to be performed.
1a – Automatic installation using the .exe file
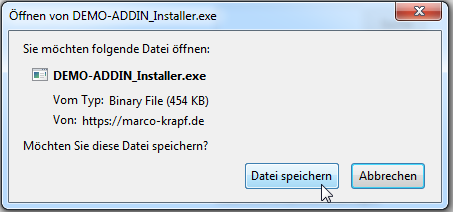
Click on the link to download the installer file and “Save file” in the pop-up.
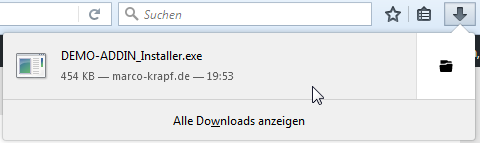
The installation can be done directly by clicking on the installation file in the Internet browser (here: Mozilla Firefox).
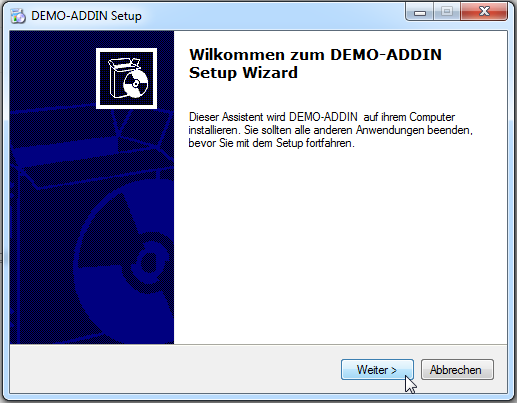
The setup starts.
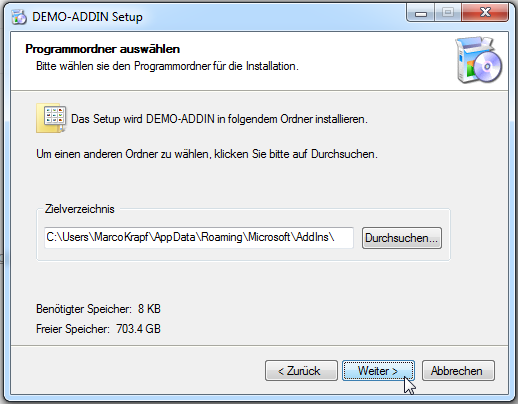
In Windows, selecting the default folder for Microsoft Office add-ins C:\Users\USERNAME\AppData\Roaming\Microsoft\AddIns as suggested by the installer is recommended. Excel automatically finds the add-ins in this folder. If the tool is stored in a different location, it must be manually specified in the next step when activating the add-in.
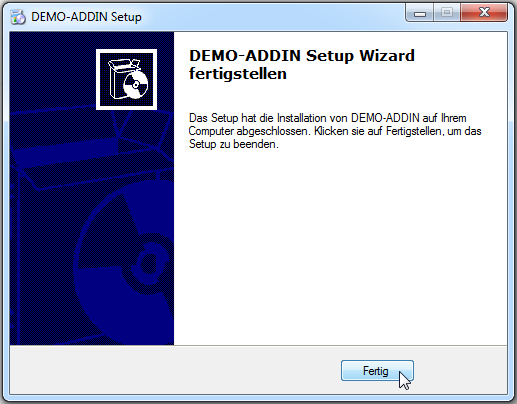
The installation is completed. Go on with the activation as described in point 2.
1b – Manual installation of the .xlam file
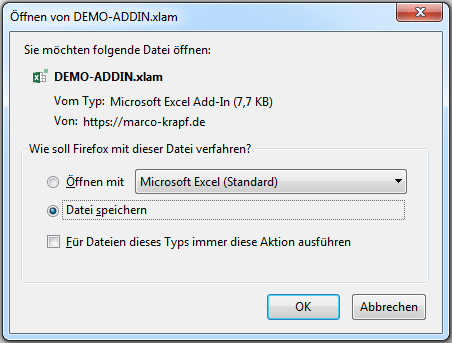
Click on the link to download the add-in, choose “Save file” in the pop-up and confirm with “OK”.
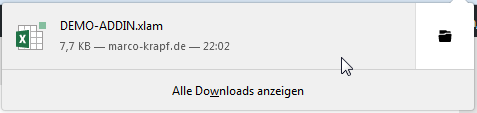
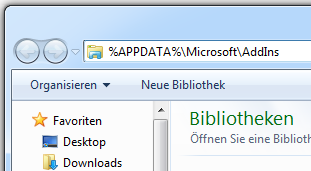
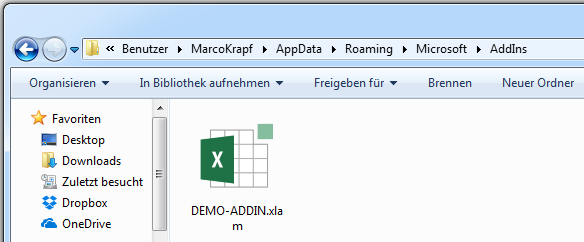
In Windows, storing the downloaded .xlam file in the default folder for Microsoft Office add-ins C:\Users\USERNAME\AppData\Roaming\Microsoft\AddIns is recommended. Depending on the system settings, the AppData folder may be hidden. The quickest way to open the add-in folder is by typing %APPDATA%\Microsoft\AddIns in the address line of the Windows explorer.
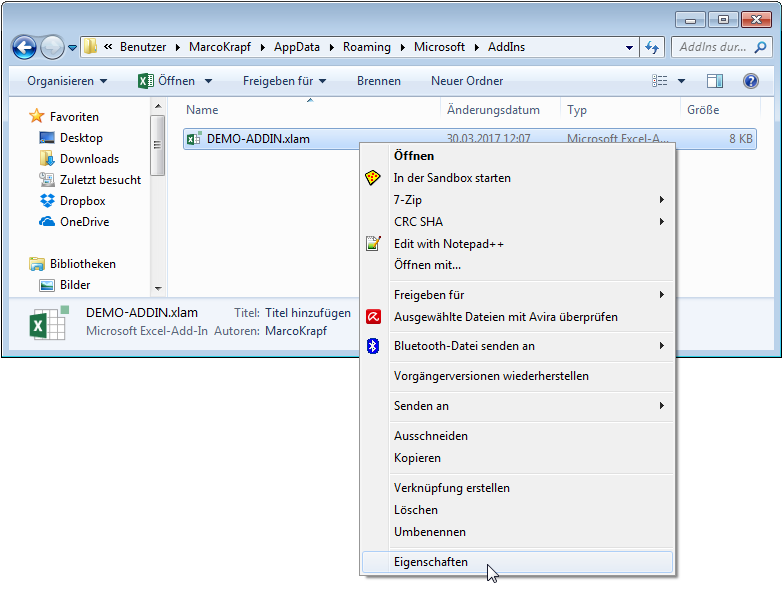
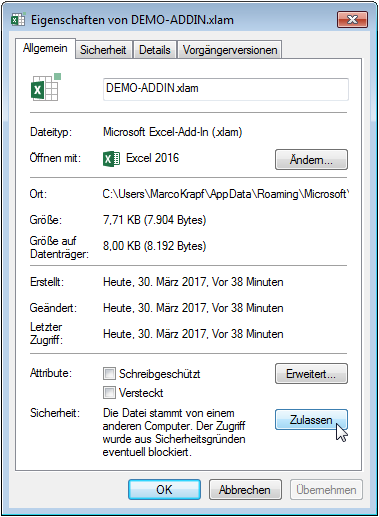
Depending on the system, the execution of the .xlam file may be blocked. On Windows, the execution can be allowed in the properties of the file (call with right-click).
2 – Activation
Add-ins must be activated in order to use them. The pop-up for the activation can be opened in different ways.
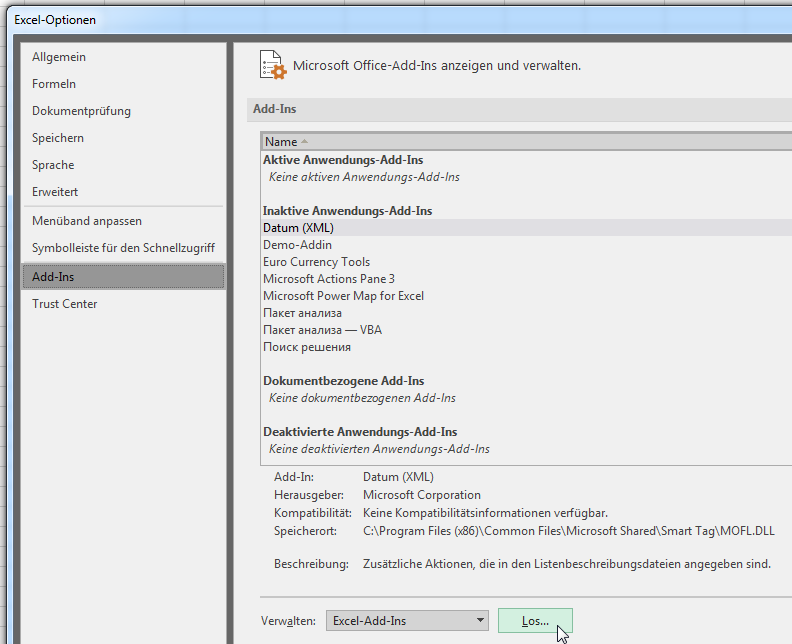
Option 1: “Excel Options” >> “Add-Ins” >> “Excel-Add-Ins”:
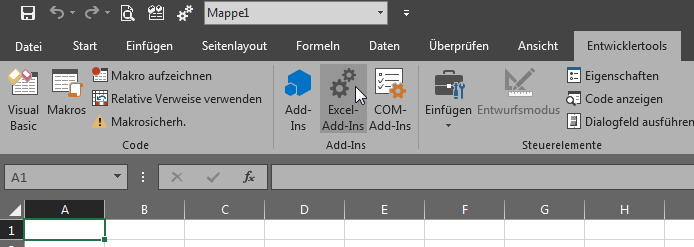
Option 2: Click the “Excel Add-Ins” icon in the “Developer Tools” tab, if activated:
Option 3: Click the “Excel Add-Ins” icon on the Quick Access toolbar when added:
![]()
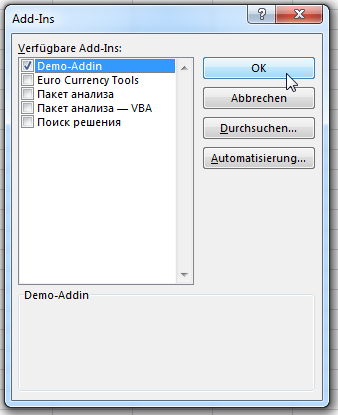
In the pop-up “Add-Ins”, activate the tool´s checkbox and confirm with “OK”. If the add-in is not displayed in the list, it is not stored in the default folder and the location must be found via “Browse”.
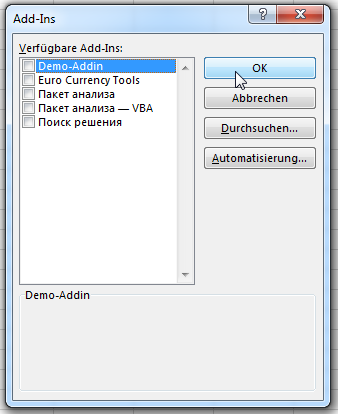
3 – Deactivation
Tools that are not needed can be temporarily deactivated by removing the hook. This reduces the time for starting Excel.
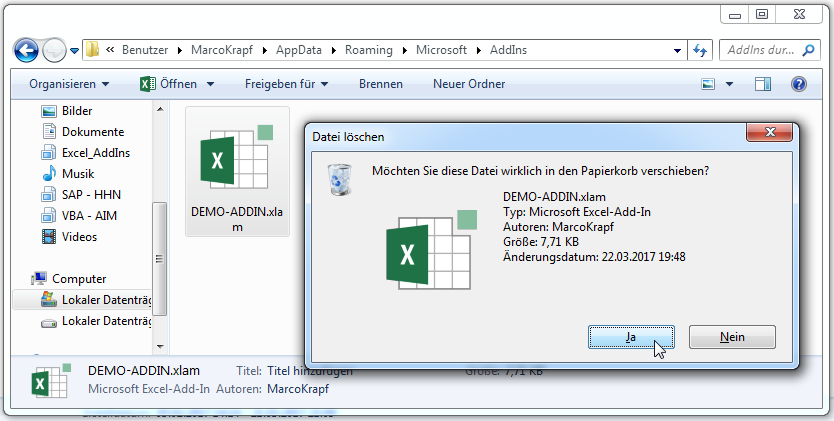
4 – Deinstallation
To completely uninstall an add-in, simply delete the .xlam file in the Windows Explorer.
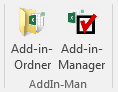
5 – Top tip: Installation of the tool AddIn-Man
This minimalistic add-in manager adds two buttons to the “Home” tab for one-click launching the add-in default folder and the Excel add-in manager. Download and install the tool right now.